How to Start a Fire in a Fire Pit with Wet Wood: Expert Techniques
Starting a fire in wet conditions is a challenge every outdoor enthusiast faces. At CampingMoon, we’ve tested these techniques in real-world conditions—from rainy Pacific Northwest campsites to damp Appalachian trails—to ensure you can enjoy a warm fire no matter the weather. Below, we share proven methods backed by survival experts and our own field experience.
(Pro Tip: Pair these techniques with CampingMoon’s Stormproof Fire Starter Kit for foolproof ignition!)
Why Wet Wood Fails—And How to Fix It
Wet wood resists burning because moisture blocks heat absorption. As CampingMoon’s lead survival instructor, Jake Reynolds, explains: "Splitting wood exposes the dry core, which is key to overcoming dampness."
CampingMoon-Approved Solution:
✅ Use the CampingMoon Splitting Axe to quarter logs, maximizing dry surface area.
✅ Store tinder in CampingMoon’s Waterproof Fire Kit to keep it dry.
Step-by-Step Guide: Starting a Fire with Wet Wood
1. Prep with CampingMoon’s Gear
-
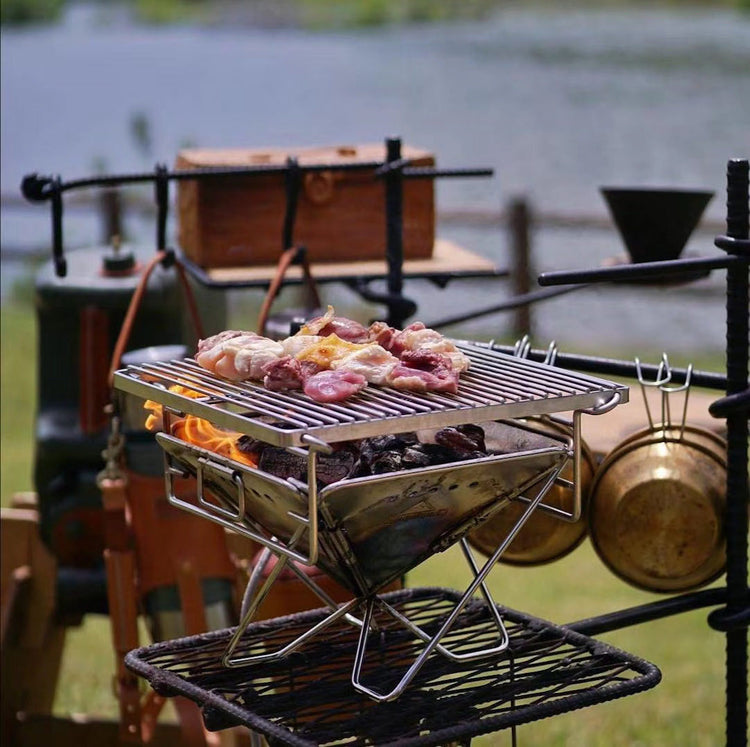
Tool: CampingMoon Fire Pit (with elevated airflow design to combat moisture).
-
Tinder: CampingMoon Firestarter Cubes (burn for 10+ minutes, even in rain).
2. Build a Wind-Resistant Fire Structure
-
Teepee Method: Ideal for CampingMoon’s Compact Fire Pits.
-
Log Cabin Method: Best for CampingMoon’s Large Steel Fire Bowls.
3. Shield from Rain
-
Use the CampingMoon Fire Pit Cover or a tarp angled for ventilation.
Expert-Backed Alternatives 11
-
Petroleum Jelly Cotton Balls
-
"A single ball burns for 5 minutes—enough to dry kindling," says CampingMoon field tester Matilda.
-
-
Char Cloth + Ferro Rod
Final Tips
-
Practice: Try these methods with CampingMoon’s Backyard Fire Pit before your trip.
Explore More:
Tag @CampingMoon in your fire-building wins! 🏕️🔥